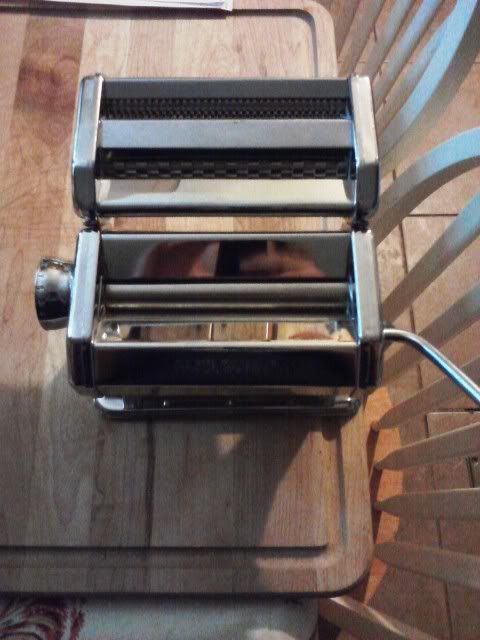
So here is that pasta maker that I got at a yard sale for $3....two years ago. I can remember how excited I was to get it. It came with no instructions but I looked up pasta making on the Internet and found a great page and printed up the instructions. I believe over the last two years I have printed instructions a couple of times. I really can't say why I never got around to trying it but this year seems to be the year for trying new things and the pasta maker was past due.
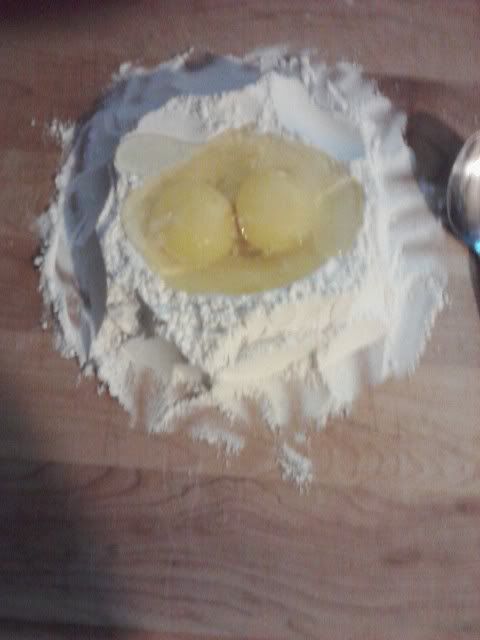
To make 1 pound of pasta you just need one cup of flour and 2 eggs (that in itself is pretty amazing). You put your flour on your cutting board and make a well in the center.
Then you crack the eggs into that well (I did not have faith in myself and cracked mine into a measuring cup and then slid them into the center of the flour).
Then you are supposed to take a fork, break the eggs and then gently swirl it around so the egg picks up flour from the side. My egg slid right out the front side of the flour on the first careful swirl but I still managed to get it all incorporated in the flour.
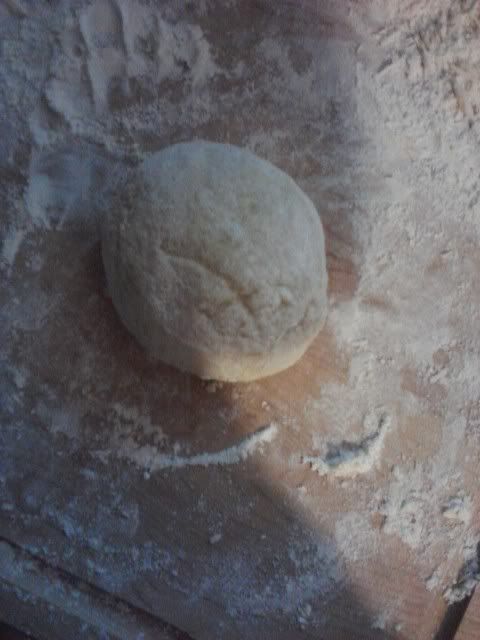
You then knead the dough. It is pretty much the same way you would knead bread by pushing the palm of your hand into the dough. You are supposed to knead it 8 minutes (umm, yeah, sure I did) adding a little flour as needed.
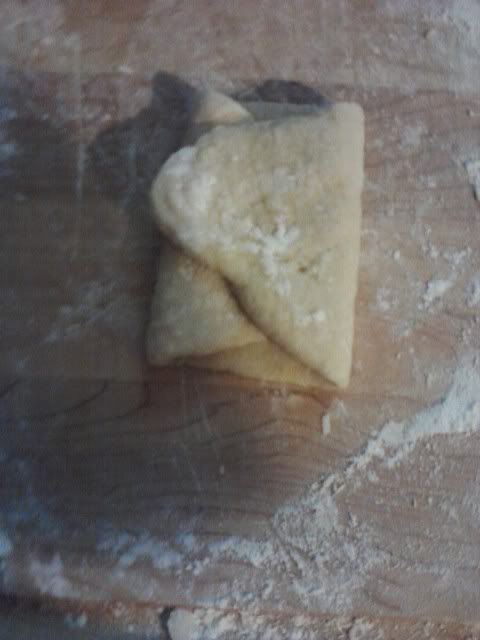
When the dough is manageable and no longer sticky, you cut it into three pieces. You can only work with one piece at a time so put the others in a Ziplock bag or plastic wrap. You then set your pasta maker so the roller are open as large as they go and run the dough through it.
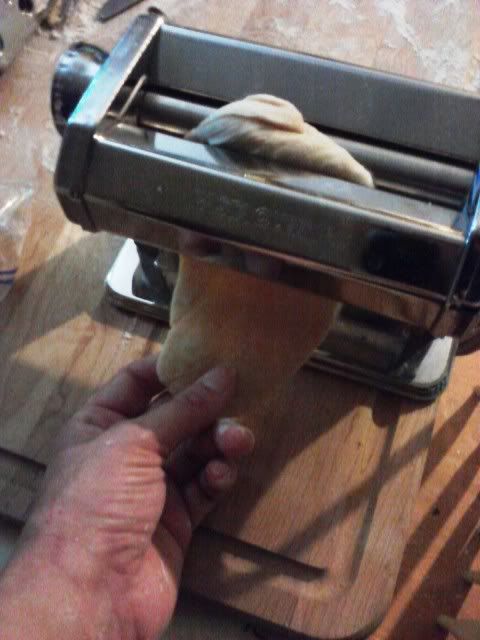
You fold it in three and then run it through a couple more times.
You then turn the pasta maker knob again so that the rollers are a bit closer and run it through that one a couple times, folding it in thirds each time. I found that I had to add a little flour or the dough got sticky again and didn't stay together well. You keep setting the rollers closer until it is as thin as you need it to be. I only turned mine down to 4, I think. You then lay the piece on a towel to dry for 10 minutes while you do the other ones.
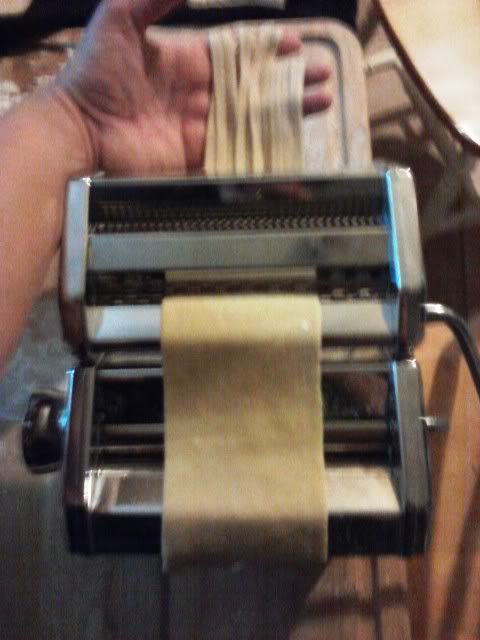
Then it is time to put the cutting rollers on and run the dough through to cut it. Start with the first piece you made because it will have already dried enough. Sorry this picture is a bit blurry. I trouble holding it and taking the picture at the same time.
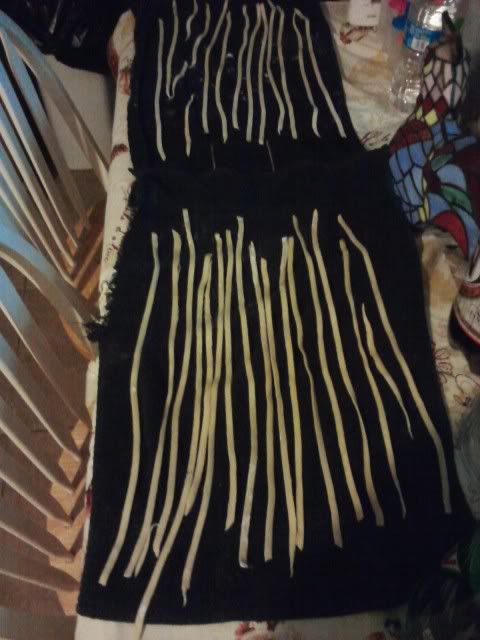
You then lay them out on a towel to dry so that they don't touch and stick together.
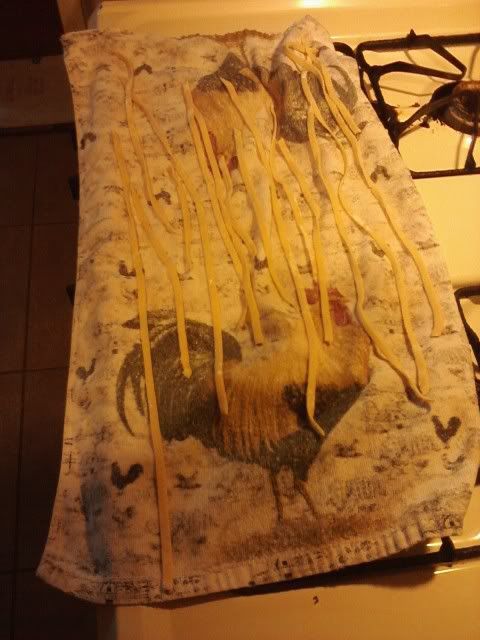
I was so impressed with how easy this was. I don't believe it took me longer than a half hour to do it. I have slid these on their towels into the oven so the pilot light will dry them. I don't know what I will use this pasta in yet but I will let you know how I liked the taste when I do try it.


Looks familiar! You can add a hint of lemon juice and zest (or lime, for that matter) and make a really interesting pasta base for meals. I used to make lime pasta for a tequila shrimp recipe and, now that you inspired me, I might just do that again.... I like how you're drying it in the oven. Better than hanging it all over the kitchen off broom handles.
ReplyDeleteWell, I had it hung on the backs of the kitchen chairs but we have three very active kittens and I just didn't feel they were safe, lol.
DeleteI like you idea of adding the lemon or lime juice.
I've done this too! We went through a phase of making our own pasta, and had a lot of fun with it, but at the end of the day we decided that bought pasta is not only good but also cheap and it wasn't worth making home-made pasta (except occasionally for the fun factor). We used to use a clothes-airer (drying-rack?) to hang the pasta on.
ReplyDeleteI'm sure the kittens would have loved a drying rack full of pasta, lol. I am sure I will not make all our pasta but I would love a ravioli maker to play with now.
DeleteOK. Now I have to add Pasta Maker to my Craigs List items. Thanks for the post. Why didn't you cook it fresh? I've heard that is heavenly.
ReplyDeleteWell, I made it in the afternoon and I didn't have anything I needed to use it for, I just wanted to try it this first time. Besides, if I decide to make our own pasta, I would want to be able to make it ahead of time and dry it for later.
DeleteI enjoy making my own pasta from time to time. Usually I use it to make filled pasta's like ravioli. Looking at this I might even be motivated to do some today.
ReplyDeleteI want to make ravioli too but I can't seem to find the attachment for this pasta maker. There are other kinds of ravioli makers though and I might get one of those if I can find one I can afford.
DeleteYou don't need a ravioli maker. Just lay out a sheet of pasta, put small dollops of filling on it (about 1.5 teaspoons), use your finger to put water between the filling dollops, and put another sheet on top. Then use a knife or a rotary cutter to make whatever shape you want (or a cookie cutter, for that matter). I have a ravioli press and I like this method better.
DeleteInteresting Donna. I will have to try it. Thanks! Cheaper is always better.
DeleteI am also wanting to learn to make pasta! Its on the list :O) Yours looks great!
ReplyDeleteIt really wasn't hard at all and it dried fine in the oven. It is softer and easier to break than store bought.
DeleteHi Becky! Thanks for sharing this tutorial! You make it look so easy, taking a photo and working at the same time! I would like to try making my own pasta as well, since I received a pasta maker this year. Hope ya'll aren't having any strong winds and storms! Stay safe! Blessings from Bama!
ReplyDeleteThe pasta was pretty easy so go on and use that pasta maker, lol. As for storms, we had one real nasty one and the winds were scary but for once we got lucky and no trees hit the power lines. Some fell in the woods but that was all.
DeleteIt is satisfying isn't it. I tend to only do this when I want fresh and it is a special occasion. Yours looks great and that's an awesome yardsale find!
ReplyDeleteOK I'll admit it. I have a pasta maker just like that. Got it from a consignment store for a few bucks....several years ago. It came with a book I believe...and it's sitting in my garage. Still. Hmmm, I think I should pull it out. How long did you let your pasta dry?
ReplyDeleteWell, I just left mine over night but I am pretty sure it was dry after a few hours.
Delete