Showing posts with label Crafts. Show all posts

Wednesday, March 23, 2016

Stocking Up!


But maybe not in the way you would think of me stocking up... I'm stocking up on my knitted and crocheted good to sell because even though nothing is selling now, they seem to sell real good at Christmas....and yes, Christmas is a long time away but these things take time to make. Last year I sold 15 of one particular hat! I'd like to be really stocked up on that hat this year and in several sizes. So now while it is slow, I am going to take the time to make these extras.
 It's boring. Making the same hat, over and over again in different sizes and colors but I think I will feel much better when it is done. I won't do them all at once. I'll do four or five and then make something new or work on another item that sells good (or I hope will sell good).

No more dragons for my grandson...


Or bibs for the new baby coming in Sept...


Or flowers for a very sick friend....


I must focus on...hats....


Monday, October 12, 2015

And the Knitting Continues...

...and I can't seem to get away from it. I have always been a crocheter, NOT a knitter but I love these hats and things and am so excited to be learning new KNITTING stitches! And I have learned to knit with two colors...at once! And I think to myself "Crocheting is easier, faster. Why are you knitting?" And I don't know why? ! And I have no started making up the patterns and putting them in my Etsy shop because so many people want the patterns.

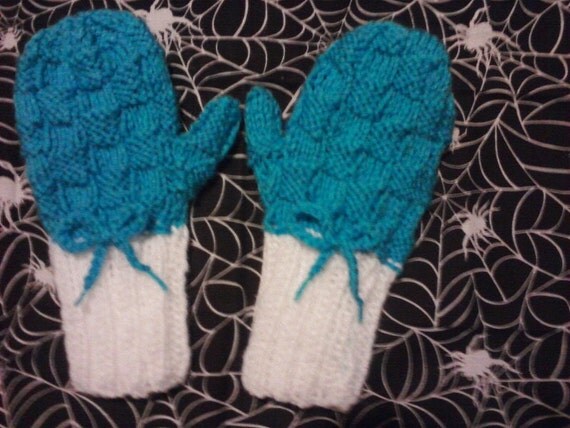
Anyway, I did get the scarf and mittens done for my granddaughter to go with that hat in the last post. The mittens were a real challenge but now I have a pattern for it. I have started on the pink one for my other granddaughter but it got interrupted by the minecraft hat for my grandson and now there is a minecraft one for my daughters friend on my needles so it has been put off again. Good thing those are Christmas presents.


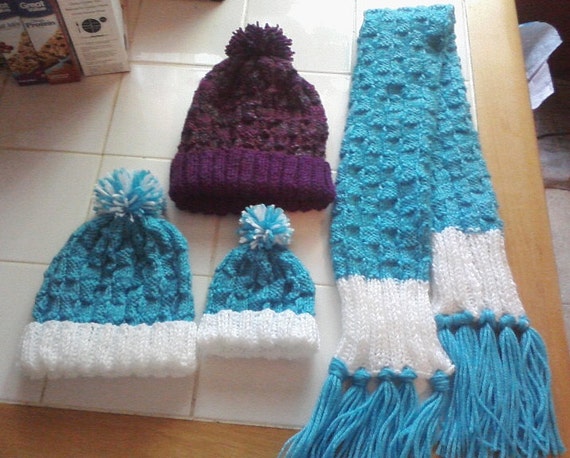
This was a new stitch involving the "left twist". This hat looks so good on Michelle I think it might just be hers now. 


This was a pattern of my own design. A little baby photo prop set. I have put this pattern in my Etsy store. It was a challenge to make as well. 


My grandsons minecraft hat. I had never knitted with two colors like this but always wanted to learn! Very exciting!


Just some Halloween baby hats. 


Other than knitting, I have finally made my way to the dentist to see about my broken tooth. If it had just been broken I wouldn't have worried about it but the thing was really hurting. My dentist says I can do a root canal where they basically build me a fake tooth for $2300 or I can do an extraction (they tell you about this like it is an afterthought that you will never choose) for $230. The dentist tells me that losing your first adult tooth is like losing a thumb...yeah okay, I know a lot of people who have lost adult teeth and no one said it was like losing a thumb...not that it matters since we can't afford $2300 and I will be having mine extracted for the $230 which I really can't afford either but we'll make due.
Anyway, I am off to go deliver some egg while I am in town picking up...yarn...I never even meant to post here today just stopped here while reading another blog. ...

Thursday, September 24, 2015

Update 9/24/15

Hi all, not much going on here lately. I have been knitting and crocheting a LOT. I have added several things to my Etsy store and had some local orders but not a lot. Right now I am working on some hat/scarf/mitten sets that I will give my granddaughters for Christmas. I have been able to knit for 40 years but always the same things, mittens, slippers but now I am doing a lot of hats and scarves too and with these Christmas gifts I learned to do the basket weave stitch (which is so simple) and have applied it to them. Here is one hat done and I am working on the matching scarf now.


I am thinking of doing a fuchsia color for the second set but we'll see what yarn is available when I get to it. I imagine the mittens will take more figuring but I think I can do it just fine.

In other news, the chickens are laying like crazy but I am selling the eggs. I am only asking $2 but it is hard for me to even ask anything. It has helped with paying for the feed.  I have someone coming to get the 4 dozen in the refrigerator today.

I am still working at the state park on the weekends and we take a trail walk every Sunday if it isn't raining. I have not found a job for during the week yet which I am slightly thankful for because I am really enjoying having some time at home--not that I seem to get very  much done...

Just starting to have a few cooler days here. I wish we had a real fall though because ours will only last a short few days and then it will just be cold again.

Well, it is time for me to play violin. I just wanted to get on here and let you all know I was still alive.


Monday, August 17, 2015

This is what happens....

when I don't get to collect the eggs for a couple days. I haven't even counted them all. I took three dozen to work the other day to give to one of the rangers, I will take more this week and hope to give them away to a few more co-workers. I have some neighbors who I am sure could use some. I know, I know, I should sell them but I have a rule...I don't sell to neighbors and friends. I used to have a neighbor who would make me take money for them...I hated that.


Anyway, being home for 4 days a week, I have had a chance to crochet again.  I have always loved to crochet and used to do a lot of it when my kids were little and I was home. Now I have a lot of spare time at home and work (and they don't mind if I crochet as long as the shop looks good and is taken care of) so I have listed things on etsy.com. I don't really care if they all sell but I am having a lot of fun doing it again. I tend to jump from one project to another but that is part of the fun. Here is my etsy shop.
BeckysCrochetShop32
Right now I am working on some cute things for babies and should have them listed as soon as my safety eyes come in.
Other than that I am not doing a lot but Phil did get the pallet fence in the back yard rebuilt yesterday so the dogs will stop getting out now. I would go get a picture of it for you but it is trying to rain outside.
I have managed to get my little pond mostly cleaned out and a pump going in it to aerate the water but there are no fish in it now. I do have a few frogs that are living in it happily though.
Phil, Michelle and I did take another hike yesterday but had to do a smaller trail that was only a little over 2 miles because it was threatening to rain and actually did sprinkle big drops on us for about half the trail but that only helped to keep us cooler as it was about 95 F here yesterday.
So that's it, nothing exciting but I am keeping busy.


Sunday, December 7, 2014

A Wood Burned Gift

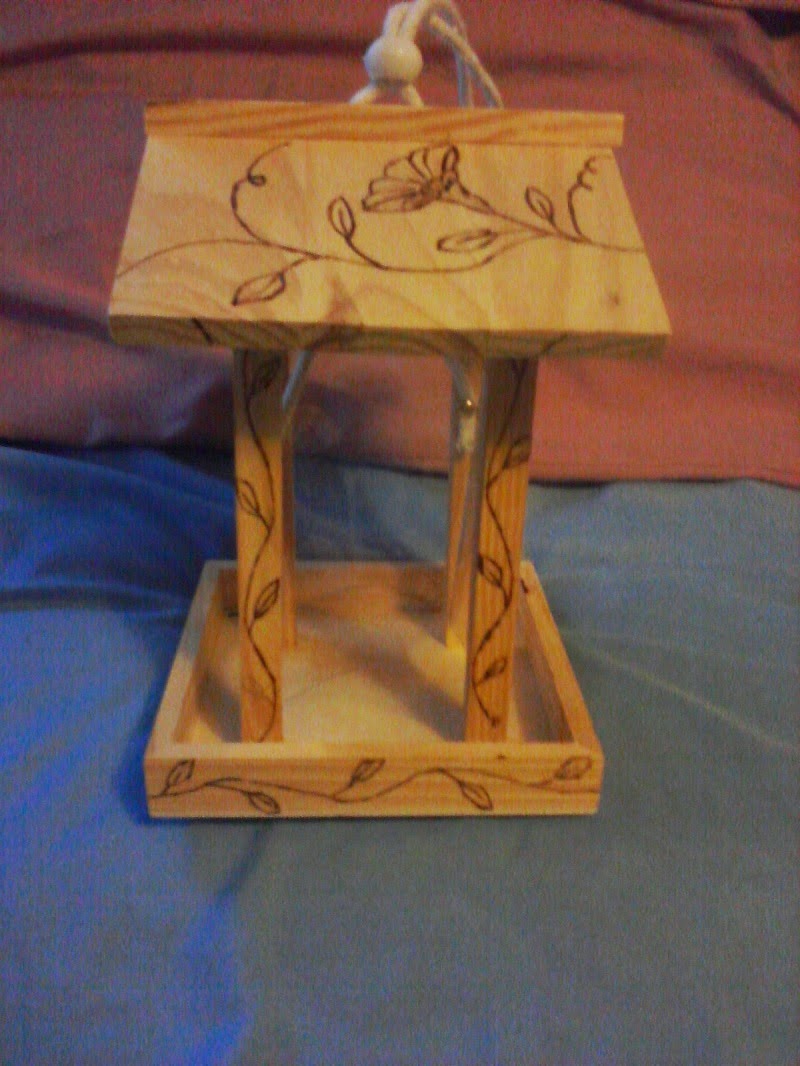
I haven't wood burned anything in a really long time but to me it is just like drawing. It is something I never seem to lose the ability to do. So today I wood burned a gift for Phil's mother for Christmas. We didn't want to get her the same jewelry or gift set present that we always get  her and when I saw a little bird feeder in the craft section of the store, I knew I wanted to wood burn it and make it pretty and that would be her gift. I drew the design on it today and sat down to wood burn. It took me about two hours (my hips are so bad, I thought I wasn't going to get back standing straight again afterwards!). I think it turned out rather nice.


And yes, I really hate leaves now :)

Sunday, September 30, 2012

PVC Knife Sheath Part 2

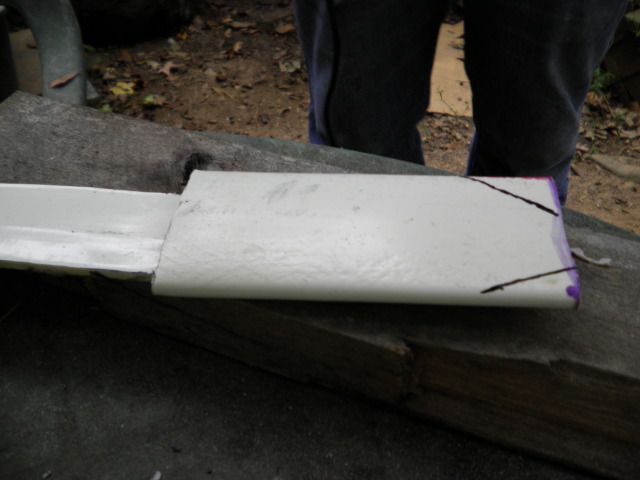
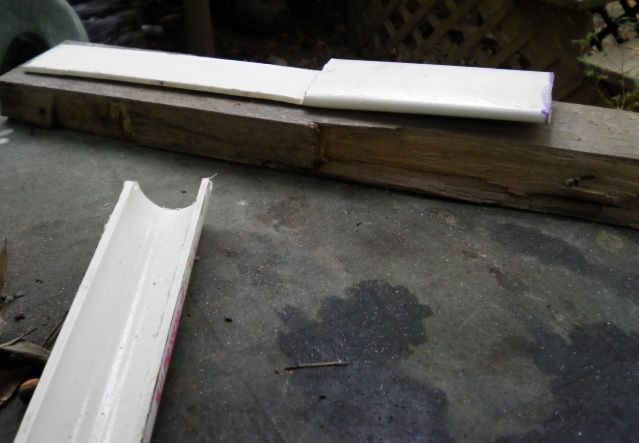
After the sheath was flattened he made the lines to cut the tip. These are cut off with the rotary cutter.
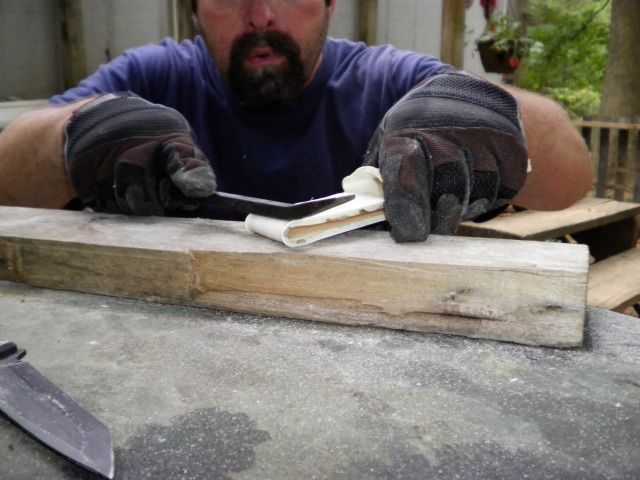
Then he heated the sheath again. He heated where the knife was going to go in. Then he slid the knife in the sheath and held it with the board so it would make a nice pocket for the knife.
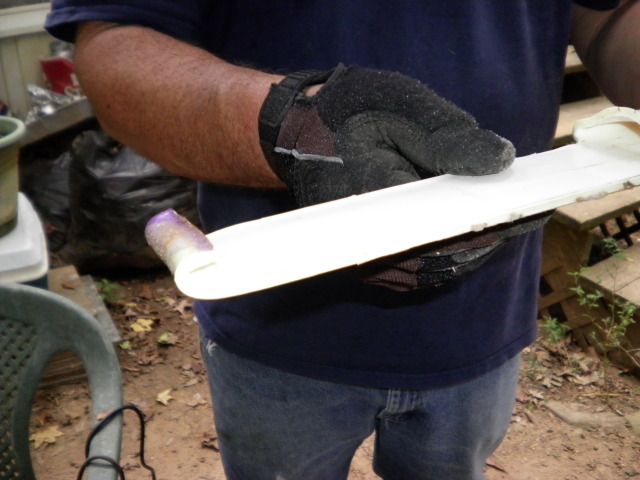
He heated the very tip and curled it around a screwdriver to make upward curl he wanted. In the next step it is bent back so the curl is on the side towards the persons body.
Then the final heating and bending for the part that the belt will go into.
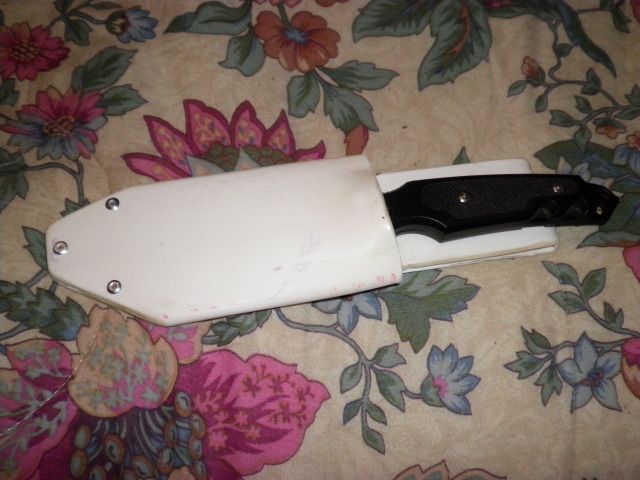
It was basically done then but it needed sanding,the points filed off and three rivets added to the bottom.
And here is the final product except he is going to paint it later.

Saturday, September 29, 2012

PVC Knife Sheath Part 1

This was a project of Phil's today. He has been researching it for a couple of days and attempted it today. I feel it turned out really good. You start with a piece of PVC pipe. His was a 1 3/4 inch piece by approximately 15 inches. He was making a sheath for a knife that was 10 inches long in all.
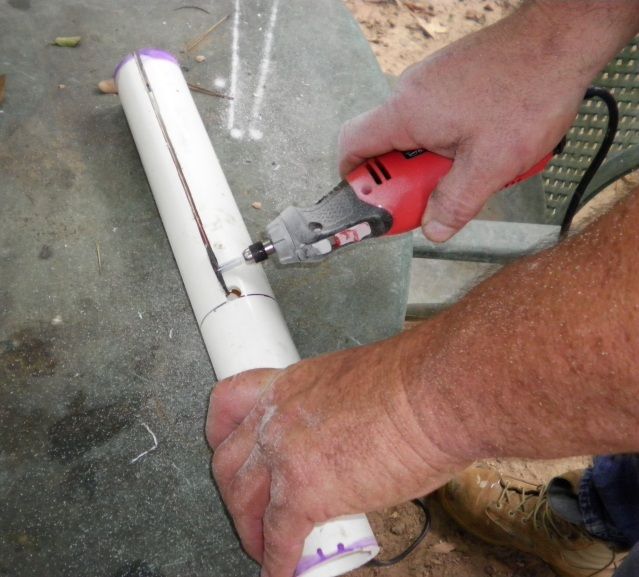
You start by making your lines. You want to cut off half of the top part. The bottom will be your sheath so you  measure it with your knife to see how much room you will need. You then drill holes in the corners and use the cutting blade on any dremel type rotary tool to cut it out.


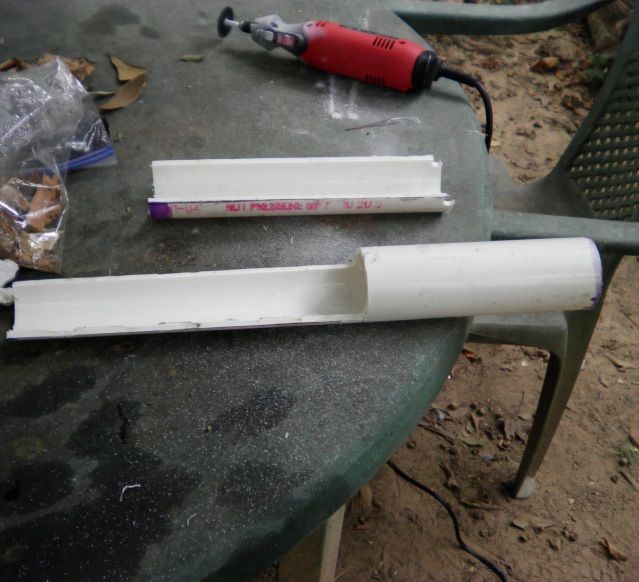
It then should look like this (I hope the pictures are better than my explanation).
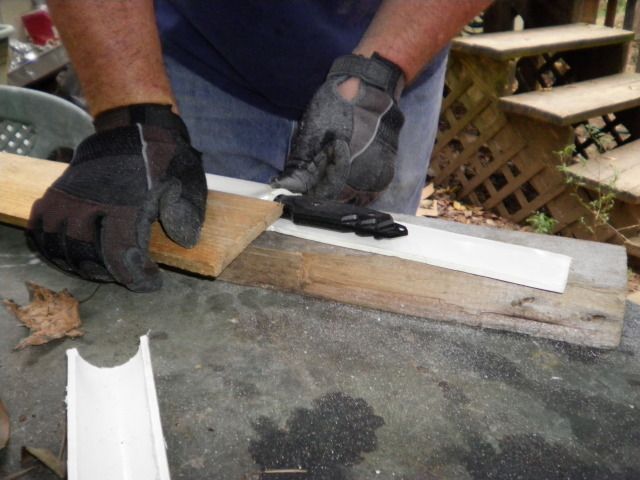
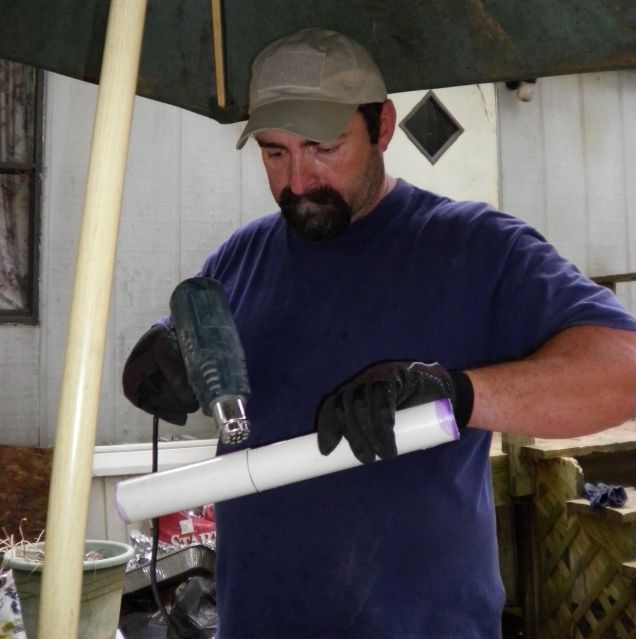
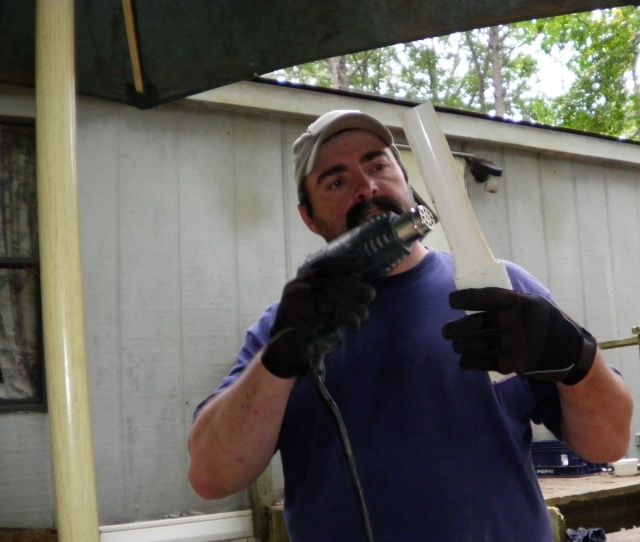
He then took his heat gun and heated up the round end. It must be heated all the way around.
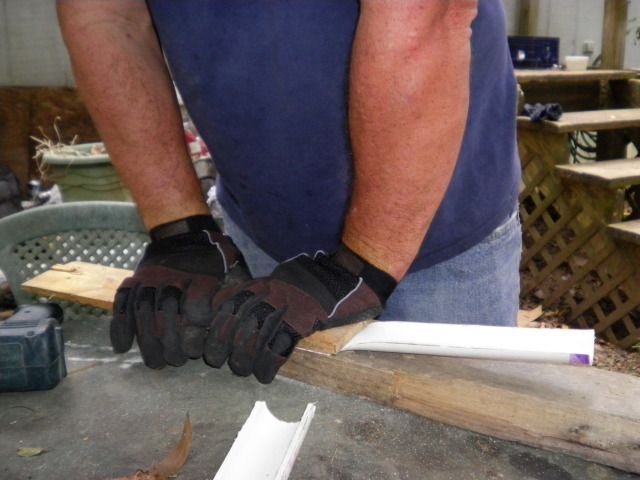
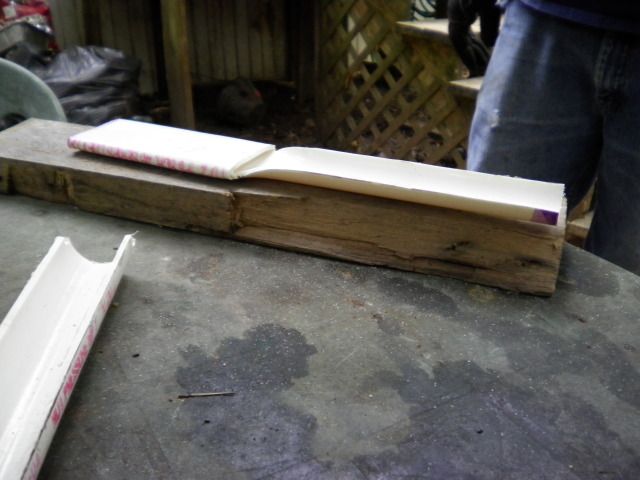
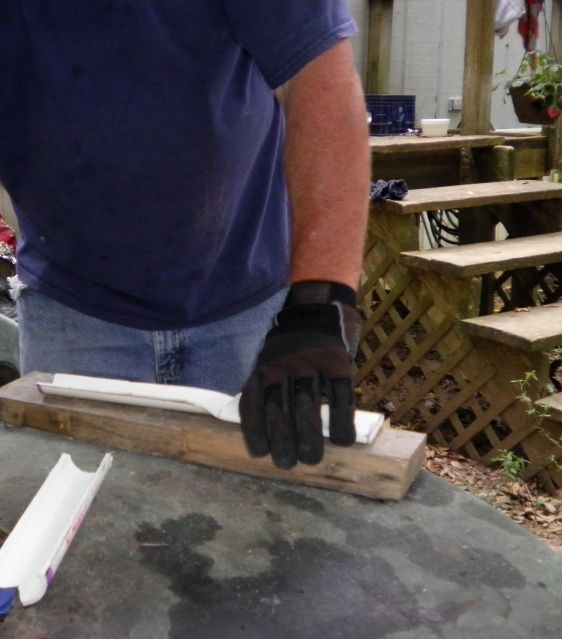
So that you can flatten it with a board. Use those gloves, it is hot!
You must hold it until it cools (a few minutes) otherwise it will spring back into its round shape.
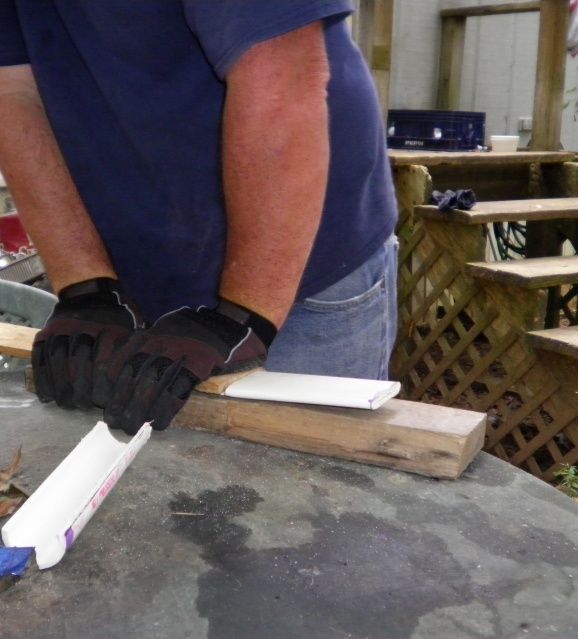
You then need to heat up the other side so that you can flatten it.

Flatten that side as well. 

It should look like this.
Doesn't look like much yet but stop by tomorrow for part 2 (too many pictures to put it all in one post)! 

Saturday, July 28, 2012

Phil's Birthday Present

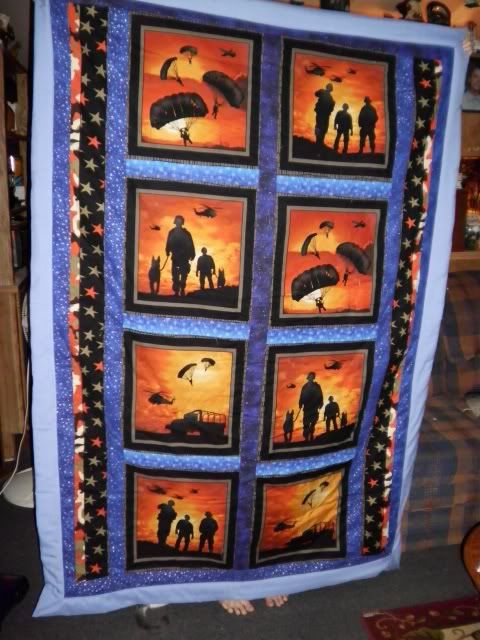
Here is what I have been working on and finally finished yesterday so that I could give it to Phil for his birthday today.

Monday, May 28, 2012

Spoons

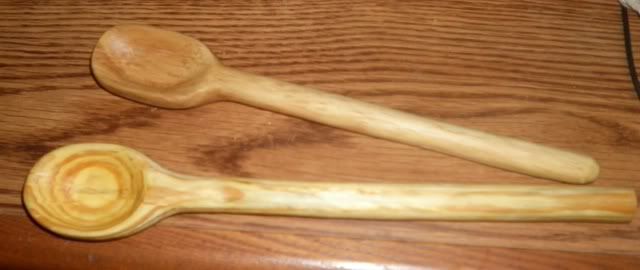
Several questions were asked about the spoon on the last post. It is just the second one that I have made. The other spoon post I have put on the sidebar under Popular Posts. I made them out of some wood that Phil brought home to me. I really don't know what kind it is. I have found that I really enjoy making them. The act of carving is soothing and calming to me. They aren't perfect in any way but they are perfectly usable.
Here is a picture of the two now that they are finished.


Monday, January 16, 2012

Candle Making with Molds

I showed you all how to dip candles here but a few weeks ago I got a candle making kit from the thrift store that had just about everything in it so I made some candles with molds this time. I started taking pictures with the camera but had to finish off with the phone when the camera's batteries ran out. Here is the kit..$3.49.

The only thing I could see that the kit was missing was the rubber mold for the pillar candle. 

I started with the larger blue molds. You had to thread the wick onto a large needle then make a hole through the center of the bottom of the mold and pull the wick through then you put this awful sticky putty around the wick and hole to keep it from leaking. 
Then you turned it over and had to tie the little sticks on so that they were tight and straight when you put the sticks in the slots.

Now it was time to melt the wax. The wax came in the form of little beads which were really easy to melt. It also came with color. I just had to scrape off a very little bit of color from these. 

I did all my colors in one pan. I didn't have any cans so did it in jars. I don't think they were any more difficult to use than a can would be. 
I did more blue than the other colors because I wanted the one rubber mold--a rabbit--to be blue. 
The rabbit had to have a wick threaded through it as well. Then you put it in its little cardboard holder and into a cup. 
Then there was nothing to do but pour the wax. I was trying to do several colors in one candle. You were supposed to pour a little of one color and then wait until it got a skin on it then pour more but they should have just told you to wait until the first color was almost completely hard because mine kind of mixed. It is still a pretty effect though. 
The floating candles used a different method. You did not stick the wick through a hole in them. You dipped their wick in wax and waited for it to harden on the wick, then you straightened it and added a little piece of foil on the end. You poured the wax in the mold and then when it got a skin on it you poked the wick, foil side first, into the candle. 
Here they are finished and out of their molds. The kit also came with one lovely scent (though it doesn't tell what the scent is) so the candles smell as good as they look.
A little closer...

Tuesday, December 27, 2011

Pine Needle Basket Part 4-Finished!

This is where I stopped working on the pine needle basket the last time (and I took a long break from working on it). Today I finished up the sides and started working on the top. Around the edge of the top I like to do just a solid ring of the crochet cotton. Like this:
This takes FOREVER! When I run out of string, I knot it and try to slip the knot under the previous strings. I do the same thing when starting a knot. Once I finally get all around it, I sometimes add beads. I start a knot under the top strings again, then I go out through the side to put on the beads then back through the strings until I get to where I want the next beads etc. 
Finally done!

I think it's a berry picking basket.

Wednesday, December 7, 2011

Wreath

A little more decorating today. I am not a wreath-maker but I think this will do. I have made several out of all natural materials but I happened to have all this stuff that I bought on sale last year after Christmas and the holly grew on the tree outside --yes lots of jumping reaching and pulling just to get a few with berries since it is a huge tree. I think it is rather nice. I hope the berries stay on it.